
What makes it modular?
One Connector

Many Products

Unlimited Configurations

Superlever
One Connector

Many Customizations

Unlimited Configurations

Superflat
Zip Connector

Mix & Match

Unlimited Configurations

Superzipper
Quick Connectors

Unique Products

Flexible Configurations

Specialty
Quick Connectors
Flexible Configurations
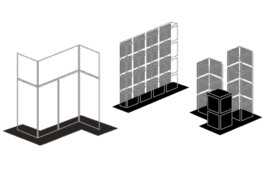
Adaptable Design
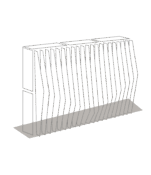
SlotLok
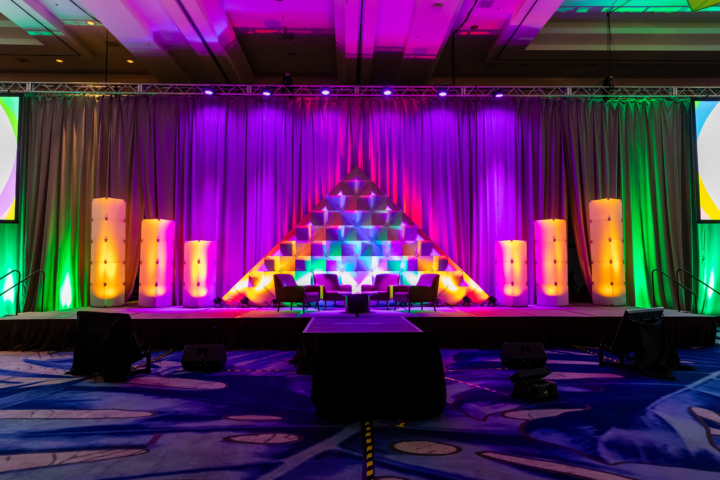

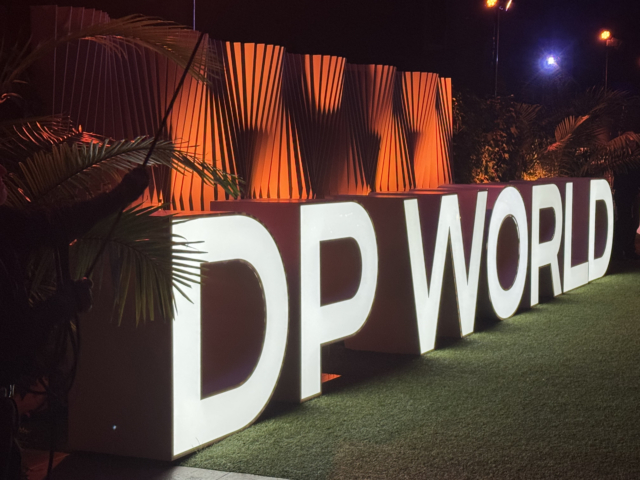







Safety & Tools WHAT YOU’LL WANT ON SITE
Modular Systems snap together like they were born ready. You don’t need a toolbox the size of a small planet. You just need the smart stuff. The stuff that keeps you moving fast, keeps the product looking fresh, and keeps the entire build running with that signature ATOMIC ease.
Simple pieces that make your life better through comfort, safety, and pro-level convenience so you can move through the job like you were made for it.
TOOL + SITE NEEDS
- Gloves with grip so good it feels like a superpower
- Closed-toe, slip-resistant shoes that won’t betray you mid-build
- Clothing that stays out of the drama (no snags, no catches)
- A soft Allen key for the rare moment you need a gentle nudge
- A small flashlight or headlamp for those moody venues that forgot overhead lighting exists
- Painter’s tape for temporary marks that disappear without a fight
BUILDING SMART
- Mind the pinch points when pieces lock together
- Keep pathways clear so the whole crew can move like a well-rehearsed dance troupe
- Tag-team any oversized pieces to keep bodies and panels happy
- Gloves on when handling frames or rails so you protect the product and your hands
QA Checklist Make It Safe, Make It Sharp
Even the cleanest builds deserve a final glow up. Before you hand the set over, give everything one last look so it is safe, sharp, and show ready. This is your moment to catch those tiny chaos gremlins before they become big problems and to make sure the client sees exactly what they were dreaming of.
WHAT TO DO:
Final Safety Check
Even the cleanest builds deserve a final glow up. Before you hand the set over, give everything one last look so it is safe, sharp, and show ready. This is your moment to catch those tiny chaos gremlins before they turn into actual problems and to make sure the client sees exactly what they were dreaming of.
Check the Sightlines
Step back and look at the build the way an audience would. Do the shapes line up? Does the design read clean? Any weird gaps trying to steal the spotlight? Does it match the approved layout? Tweak now so the final look feels intentional and show ready.
Client Sign Off
Bring the client over for a quick look so they can fall in love with the look and approve it. A fast visual thumbs up keeps everyone aligned and gives them that warm glow of “yes, this is exactly what I wanted.”
Snap the Final Beauty Shots
Take crisp photos of the finished build from a few angles. Wide shots, hero shots, detail shots. Send them to your Account Manager so the team has a clean record and you get credit for a gorgeous setup that absolutely delivered.
Problem Solving When things get weird, improv like a pro
Sometimes you’ll need to go off-book once you hit the show floor. Clients change their minds, layouts shift, pieces wander, and sometimes a panel decides today is its villain arc. When the unexpected shows up, stay calm, stay clever, and use these quick checks to keep the build smooth, the product happy, and the whole crew looking like absolute pros.
Client changes the configuration
Clients love throwing a last second curveball, and we love being able to catch them! Before you jump into hero mode, pause and check your hardware count. Do you actually have enough parts to pull off the new layout with confidence and stability? If the answer is yes, carry on and make some magic! If the answer is no, make a quick list of what you’re missing and reach out to your Account Manager. They’ll help you close the gap so the build stays clean and the client stays happy.
Unstable configuration
If something feels wobbly, listen to it. Something in the build is out of balance. Take a breath and look for the culprit. Are pieces locked correctly? Is the ground uneven? Is something missing or flipped the wrong way? Try adjusting with what you already have. If the build still feels like a shaky game of Jenga, stop and reach out to your Account Manager. Safety first, cool points second.
Incorrect quantities of product
Most orders include spares, so coming up short is rare. Start with the basics. Recheck the order paperwork, compare it to what is out of the cases, and confirm the layout matches what was approved. Sometimes a missing panel is just hiding behind its friends. If you are still short after a full sweep, contact your Account Manager so replacements can get rolling.
Broken product
Panels and hardware really go through it. If something arrives broken or gets banged up on site, check your spares to see if you can swap it out. If the spares do not cover what you lost, contact your Account Manager right away. They’ll get fresh product headed your direction so the build stays on track.
Dirty product
Scuffs, smudges, mystery fingerprints happen. First see if you can clean it on site with a gentle touch and non-abrasive methods. If the dirt is stubborn or the panel is too far gone to look good under show lighting, dig into your spares and pick the cleanest in the bunch. Still not workable? Loop in your Account Manager and they’ll guide the next move so your setup still looks show ready.
LOGISTICS ISSUES
-
CHECK ORDER DETAILS
All logistics info lives in the order. Load in windows, load out windows, and everything in between. Read it before you roll in so you know the plan.
-
MISSING OR NO-SHOWS
If gear is missing at load-in or a truck does not show at load-out, call Logistics immediately. They will get a solution moving.
-
DAMAGED ROAD CASES
If a case lands looking rough, stop. Take clear photos from a few angles and notify Logistics. They will document it and tell you the next move.
-
TRACKING INFO
If a updates are needed or nerves need soothing, Logistics can pull tracking details and give you the real time picture of where everything is.
More questions? Reach out!
ASSEMBLY instructions
For a searchable directory of all of our assembly instructions, CLICK HERE.
BANNERS
Requirements
Tie to truss or pipe and base via tie line and SuperLever F4 connector
Build Time
2 minutes to hang one banner
FABLOK
Requirements
Hang from truss or pipe, or use ground supported for SuperColumn or SuperWall
Build Time
120 minutes for 1 person to assemble a 20′ x 20′ backdrop
FASTWALL
Requirements
Ground supported using FASTwall system
Build Time
60-70 minutes to build a 10′ x 10′ FASTwall
KEYCHAIN
Requirements
Secure cable around truss or pipe and base using the quick link connectors and attach Bento panels to cable via keyhole fastener
Build Time
1 hour for 1 person to assemble a 20′ x 20′ backdrop
LEGS & SWAGS
Requirements
Tie on pipe or truss via grommets and ties
Build Time
10 minutes for 1 person to hang
no Show backdrop
Requirements
Tie on to pipe or truss. Modular units snap together.
Build Time
Varies per build
PLEATED COLUMN
Requirements
Tie on pipe or truss via grommets and ties
Build Time
10 minutes for 1 person to hang
SlotLok
Requirements
Use ground supported. Need SlotLok inserts to attach to build.
Build Time
60-80 minutes for 2 people to assemble a 12-unit, 30 panel wall.
SuperFlat Walls
Requirements
SuperFlat requires two people to assemble
Build Time
5 minutes for 2 people to assemble one flat
SuperLever backdrop
Requirements
Tie to truss or pipe and base via tie line and SuperLever F4 connector
Build Time
30-60 minutes for 1 person to assemble a 20′ x 20′ backdrop
SuperLever Column
Requirements
Use SuperColumn ground supported systems
Build Time
5 minutes for 1 person to assemble one four-sided cube for a SuperColumn
SuperLever Wall
Requirements
Use SuperWall ground supported system
Build Time
60 minutes for 1 person to assemble a 10′ x 10′ SuperWall
SuperLever Wall with supports
Requirements
Use SuperWall with internal supports
Build Time
60 minutes for 1 person to assemble a 10′ x 10′ SuperWall
Supershapes
Requirements
SuperShapes require two people to assemble
Build Time
Varies per build
SuperArch
Requirements
SuperArches require two people to assemble
Build Time
Varies per build
SuperWall Staggered
Requirements
Stagger panels as you build to create SuperWall Staggered
Build Time
60 minutes for 1 person to assemble a 10′ x 10′ SuperWall Staggered
Superzipper Drapes
Requirements
Tie on pipe or truss via grommets and ties
Build Time
30 minutes for 1 person to assemble a 30′ x 20′ backdrop